How to Install Project Eris
Installing on system with stock kernel
Disclaimer – We are not responsible for any damage caused to your console. Please note that you are installing and using at your own risk!
- Download the Project Eris zip package to your computer.
- Format a USB drive (USB 2.0 preferable) to FAT32 and label it SONY (must be in all caps). The format must be FAT32 if the console hasn’t had BleemSync installed on it prior. Otherwise you can use either FAT32, NTFS or exFAT
- Extract the zip package to the root of your newly formatted USB.
- Make sure your console is unplugged from power. No other USB items should be plugged in at this time. Do not use an OTG adapter during the install process.
- Insert the USB to controller port 2 on your console and hook the console power back up (direct connect, do not use a USB hub or OTG). Progress updates are displayed on the screen so it is recommended to have the HDMI cord plugged in.
- It is recommended that while updating you do not have any other usb devices connected to your console. Note: If you have an externally powered usb hub, insert your usb drive into the hub and insert the hub into controller port 2. (Recommended for users with USB power issues)
- When the console’s LED is orange, power it on as normal and wait!
- The system will create a backup of your existing kernel, recovery, and data partitions. This may take up to 5 minutes. The LED will alternate green and red while this is happening and you should see this screen with some changing text at the top:
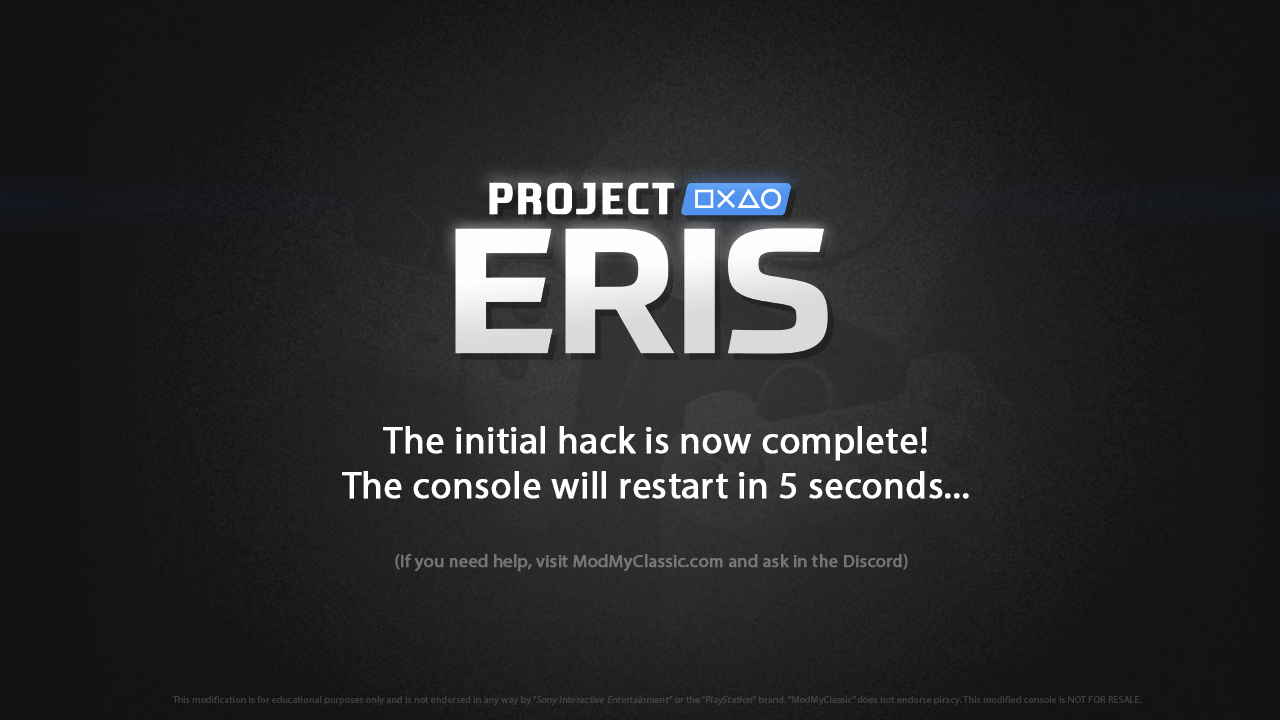
- After the backup has completed the Custom kernel will be installed. This is no longer optional and is included with ERIS by default. It is needed by some of the advanced functions of the mod. The LED will alternate Red and Green during install. After completion, you will see the screen below.
- Once the console has powered off and you see an orange LED, remove your usb stick and plug it into your computer.
IMPORTANT: Create a backup of your consoles backup files, and copy them to somewhere safe. The backup files are stored in USB:\project_eris\backup. It is important you keep a copy of these files somewhere safe. They are unique and can only be used on the console that created them. DO NOT DELETE THESE FILES FROM THE USB DRIVE! If they do not exist then the console will re-create them on boot (and any backups made subsequent to this would be of the upgraded Project Eris kernel and not the original one). We highly recommend you upload a backup of your data to a cloud service such as Google Drive, as physical drives fail and get lost.
- You will have to backup your ERIS install or you will have to use a new USB stick. Project ERIS no longer accepts FAT32 drives to combat data corruption, common with FAT32 drives. Format your drive to NTFS or exFAT and copy over the Project ERIS archive from before. Ensure the newly formatted drive is labelled SONY, with all capitals.
- Remove the console from power if you haven’t already.
- Plug your drive into your console in controller port 2. Do not use an OTG adapter or any other USB device at this time, only the flash drive.
- Plug your power back into your console. Connect an HDMI cord at this time so you can see the updates happening. Turn on your console.
- The Project ERIS screen should appear.
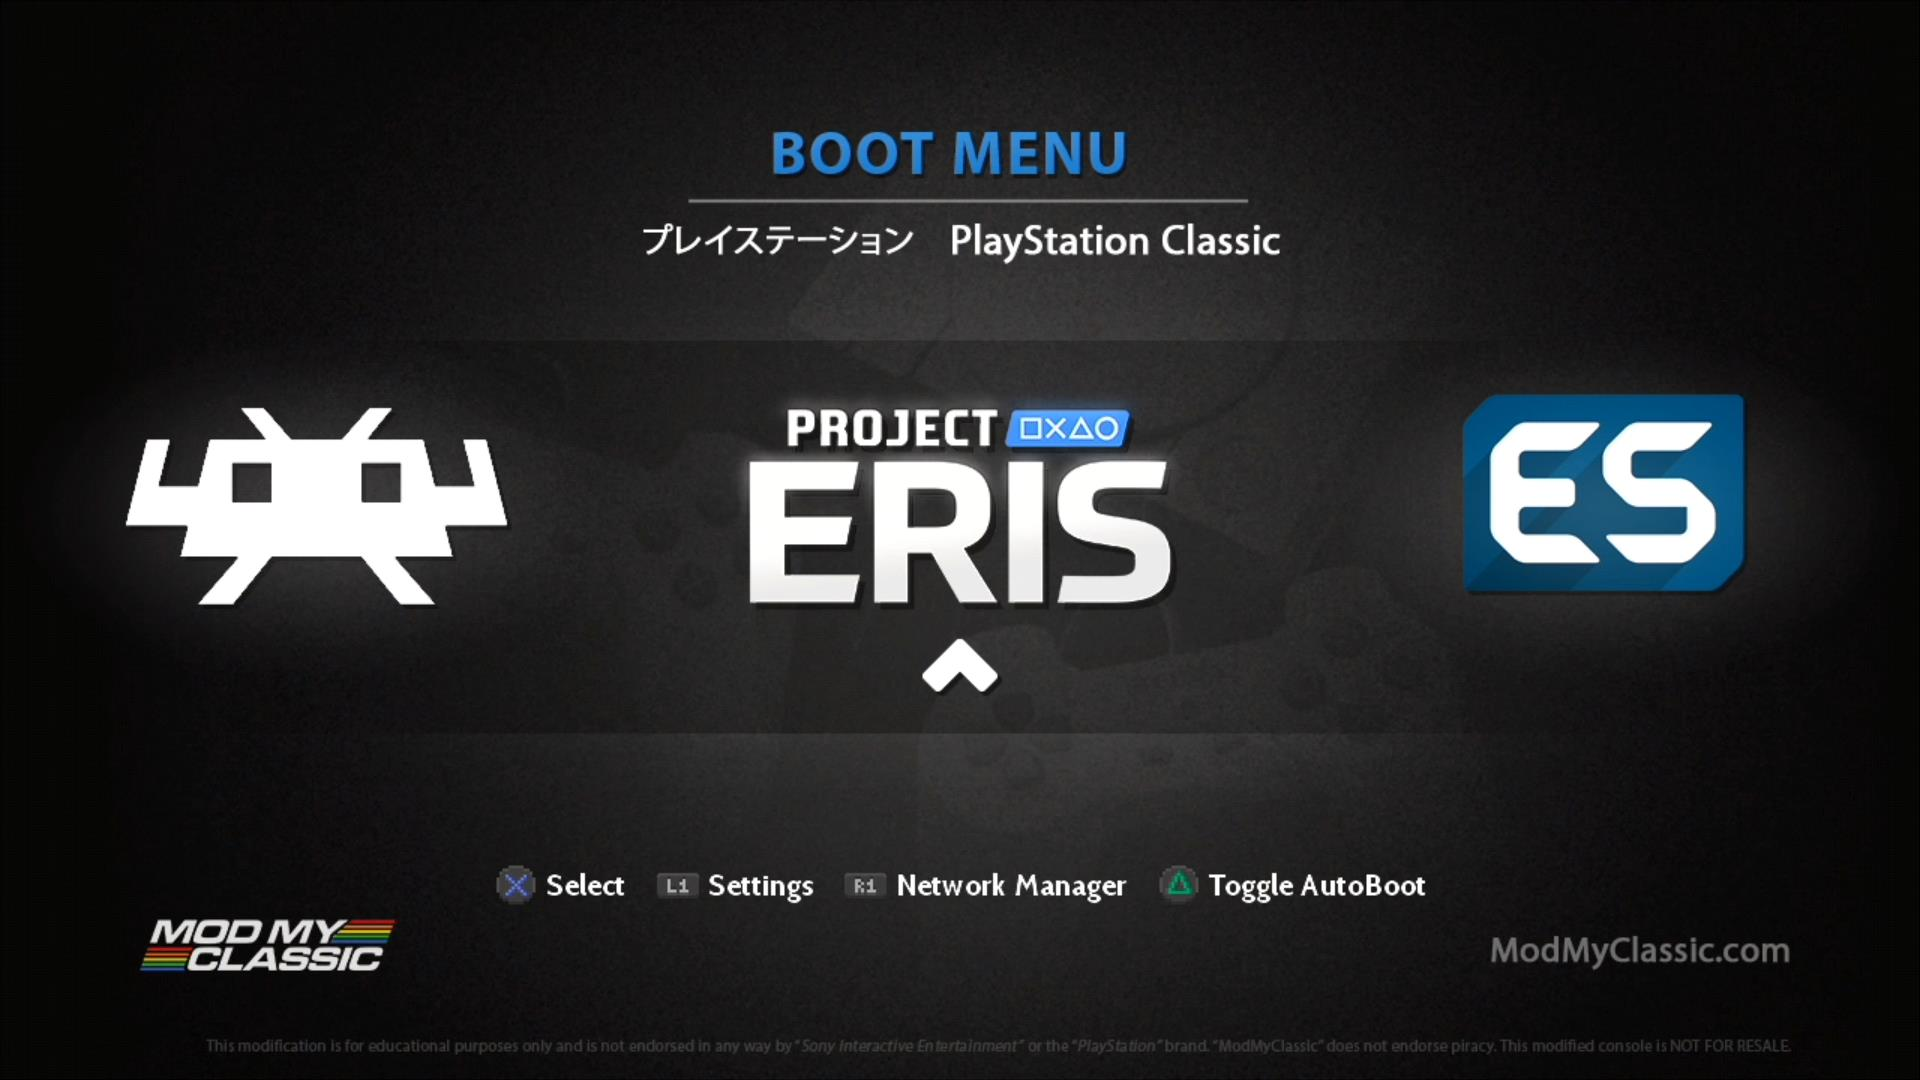
- After initializing, you should be presented with the Project ERIS boot menu!
For help with any issues installing Project Eris, please Join us on Discord.
